
Fine-tuning the welding current on a Digital MIG Welding Machine is a crucial skill that can significantly impact the quality of your welding projects. As a supplier of Digital MIG Welding Machines, I've witnessed firsthand how proper current adjustment can transform a mediocre weld into a professional-grade one. In this blog post, I'll share some valuable insights and practical tips on how to fine-tune the welding current effectively.
Understanding the Basics of Welding Current
Before delving into the fine-tuning process, it's essential to understand the role of welding current in MIG welding. The welding current determines the heat input into the workpiece and the filler metal. A higher current results in more heat, which can penetrate thicker materials and increase the welding speed. Conversely, a lower current produces less heat, suitable for thinner materials and more delicate welding tasks.
The ideal welding current depends on several factors, including the thickness of the base metal, the type of filler metal, the welding position, and the desired weld bead appearance. For instance, when welding thin sheets of metal, a lower current is required to prevent burn-through. On the other hand, welding thick plates demands a higher current to ensure proper penetration.
Factors Affecting Welding Current
Several factors can influence the optimal welding current for a particular job. Let's take a closer look at some of the most important ones:
Base Metal Thickness
The thickness of the base metal is one of the primary factors determining the welding current. As a general rule, the thicker the metal, the higher the current needed. For example, when welding 1/8-inch thick steel, a current setting of around 100-120 amps may be appropriate. However, for 1/4-inch thick steel, you'll likely need to increase the current to 150-180 amps.
Filler Metal Type and Diameter
The type and diameter of the filler metal also play a significant role in determining the welding current. Different filler metals have different melting points and electrical conductivity, which affect the amount of heat required to melt them. Additionally, the diameter of the filler metal affects the deposition rate and the size of the weld bead.
For instance, a smaller diameter filler metal (e.g., 0.023 inches) requires less current compared to a larger diameter filler metal (e.g., 0.045 inches). This is because the smaller diameter wire has less mass and requires less heat to melt.
Welding Position
The welding position can also impact the optimal welding current. Welding in the flat position generally allows for higher currents because gravity helps to hold the molten metal in place. In contrast, welding in the vertical or overhead position requires lower currents to prevent the molten metal from dripping.
Weld Bead Appearance
The desired weld bead appearance is another factor to consider when adjusting the welding current. A higher current can produce a wider and flatter weld bead, which is suitable for applications where appearance is not a critical factor. On the other hand, a lower current can result in a narrower and more convex weld bead, which is often preferred for cosmetic purposes.
Steps to Fine-Tune the Welding Current
Now that we've covered the basics of welding current and the factors that affect it, let's discuss the steps to fine-tune the welding current on a Digital MIG Welding Machine.
Step 1: Select the Appropriate Filler Metal and Gas
Before adjusting the welding current, make sure you've selected the appropriate filler metal and shielding gas for your application. The filler metal should match the composition of the base metal, and the shielding gas should provide adequate protection against oxidation and contamination.
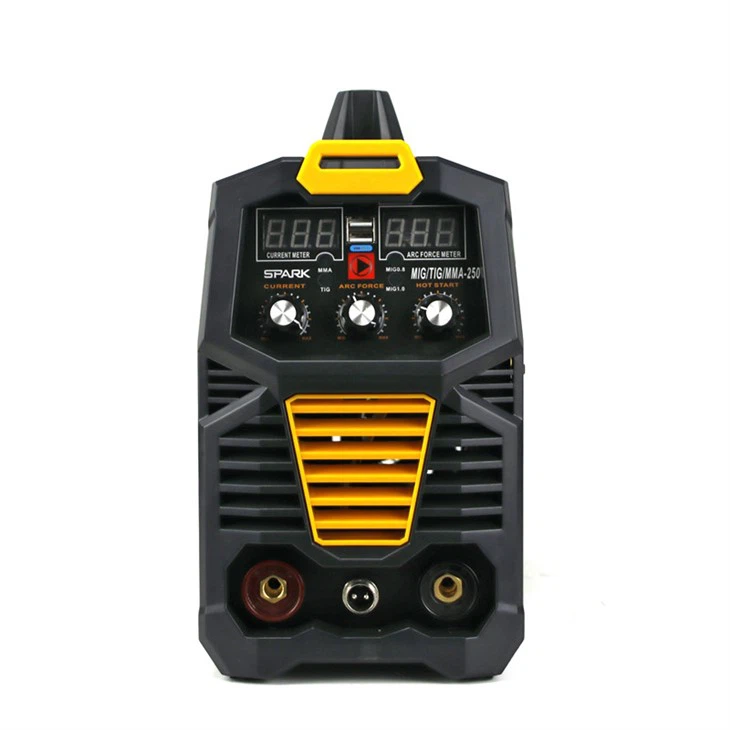
Step 2: Set the Initial Current
Based on the thickness of the base metal, the type of filler metal, and the welding position, set the initial current on your Digital MIG Welding Machine. You can refer to the manufacturer's recommendations or use a welding chart as a starting point.
Step 3: Make a Test Weld
Once you've set the initial current, make a test weld on a scrap piece of metal that is similar to the base metal. Pay attention to the appearance of the weld bead, the penetration, and the amount of spatter. If the weld bead is too wide or the penetration is too deep, the current may be too high. Conversely, if the weld bead is too narrow or the penetration is insufficient, the current may be too low.
Step 4: Adjust the Current
Based on the results of the test weld, adjust the welding current accordingly. If the weld bead is too wide or the penetration is too deep, reduce the current by 5-10 amps and make another test weld. If the weld bead is too narrow or the penetration is insufficient, increase the current by 5-10 amps and make another test weld.
Step 5: Repeat the Process
Continue making test welds and adjusting the current until you achieve the desired weld bead appearance and penetration. Remember to take your time and make small adjustments to the current to avoid overshooting the optimal setting.
Tips for Fine-Tuning the Welding Current
Here are some additional tips to help you fine-tune the welding current on your Digital MIG Welding Machine:
Use a Welding Helmet with Auto-Darkening Feature
A welding helmet with an auto-darkening feature can make it easier to observe the weld bead and make accurate adjustments to the welding current. The auto-darkening feature automatically adjusts the shade of the lens based on the intensity of the arc, allowing you to see the weld bead clearly without having to lift your helmet.
Keep the Welding Gun at the Correct Angle
The angle of the welding gun can also affect the welding current and the quality of the weld. Keep the welding gun at a 10-15 degree angle from the vertical position and maintain a consistent travel speed to ensure uniform heat distribution and proper penetration.
Monitor the Wire Feed Speed
The wire feed speed is closely related to the welding current. If the wire feed speed is too fast, the current may be too high, and if the wire feed speed is too slow, the current may be too low. Make sure the wire feed speed is set correctly for the selected welding current.
Practice on Different Materials and Thicknesses
To become proficient in fine-tuning the welding current, practice on different materials and thicknesses. This will help you develop a better understanding of how the welding current affects the weld bead appearance and penetration and allow you to make more accurate adjustments.
Conclusion
Fine-tuning the welding current on a Digital MIG Welding Machine is a skill that requires practice and experience. By understanding the basics of welding current, the factors that affect it, and following the steps outlined in this blog post, you can achieve high-quality welds with consistent results.
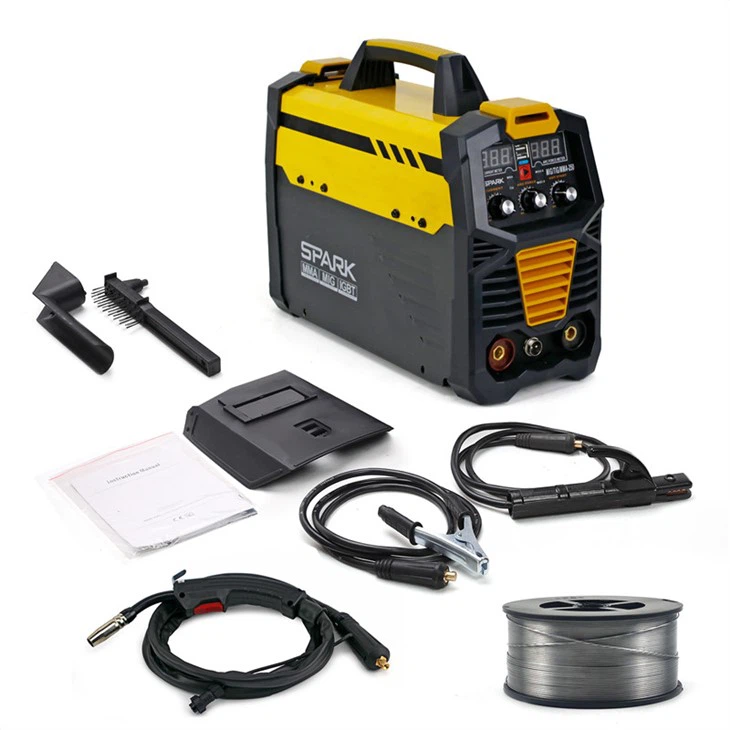
As a supplier of Digital MIG Welding Machines, we offer a wide range of Inverter Mig Welding Machine, including the MIG-250 Inverter Welding Machine and the Three PCB MIG Welding Machine. Our machines are designed to provide precise control over the welding current, making it easier for you to fine-tune the settings and achieve optimal results.
If you're interested in learning more about our Digital MIG Welding Machines or have any questions about fine-tuning the welding current, please don't hesitate to contact us. We'd be happy to assist you with your welding needs and help you find the right machine for your application.
References
- AWS Welding Handbook, Volume 1: Welding Science and Technology
- Miller Electric Mfg. Co. Welding Guide
- Lincoln Electric Welding Manual