

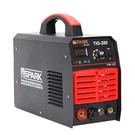
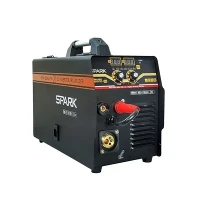


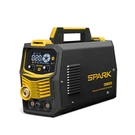

Hey there, welders! As a supplier of DC Pulse TIG Welding Machine, I know how crucial it is to have a well - calibrated welding machine. Calibrating your DC Pulse TIG welding machine can make a huge difference in the quality of your welds, and today, I'm gonna walk you through the process.
Understanding Your DC Pulse TIG Welding Machine
Before we start the calibration, let's first understand what a DC Pulse TIG welding machine is. It's a type of welding equipment that uses a non - consumable tungsten electrode to produce the weld. The "DC Pulse" part means it can alternate between a high peak current and a low background current. This pulsing feature helps in better control of heat input, reduces distortion, and allows for welding on thinner materials.
We offer different models like the Industrial 380V Professional TIG for Welding Aluminium and the DC Single Phase TIG Welding Machine. Each model might have slightly different calibration requirements, but the general principles are the same.
Safety First
First things first, safety always comes first. Before you start calibrating your welding machine, make sure you're wearing the proper safety gear. This includes welding gloves, a welding helmet with the correct shade, and flame - resistant clothing. Also, ensure that the machine is turned off and unplugged from the power source. You don't want to get an accidental shock while you're working on it.
Tools You'll Need
For calibration, you'll need a few basic tools. A multimeter is essential for measuring voltage and current. You'll also want a good set of precision screwdrivers to adjust any internal components. Some machines might require a pressure gauge to check the gas flow if you're using shielding gas. Oh, and don't forget to have a clean, dry cloth handy to wipe off any dust or debris from the machine.
Step 1: Visual Inspection
Start by giving your welding machine a thorough visual inspection. Look for any signs of damage, like cracked cables, loose connections, or burnt components. If you find any damage, it's a good idea to replace the damaged parts before you continue with the calibration. Also, check the welding torch and make sure the tungsten electrode is in good condition. A worn - out or damaged electrode can affect the quality of your welds.
Step 2: Calibrating the Power Supply
The power supply is the heart of your welding machine, so getting it calibrated right is super important. Use your multimeter to measure the input voltage. It should match the rated voltage of your machine. If it's off, you might have an issue with your electrical supply.
To calibrate the output current, set your welding machine to a known current setting, say 50 amps. Then, use your multimeter to measure the actual current output at the electrode. If the measured current is different from the set value, you'll need to adjust the current control knob on your machine. Keep making small adjustments and re - measuring until you get the desired output.
Step 3: Gas Flow Calibration
If your welding machine uses shielding gas, you need to calibrate the gas flow. Connect your pressure gauge to the gas line. The recommended gas flow rate usually depends on the type of material you're welding and the welding current. For most applications, a flow rate between 15 - 25 cubic feet per hour (CFH) is a good starting point.
Adjust the gas flow valve on your machine until the pressure gauge reads the desired flow rate. Make sure there are no leaks in the gas line while you're doing this. You can use a small amount of soapy water to check for leaks. If you see bubbles forming, you've got a leak and you'll need to fix it.
Step 4: Pulse Frequency and Duration Calibration
One of the unique features of a DC Pulse TIG welding machine is the ability to control the pulse frequency and duration. The pulse frequency determines how often the high - peak current pulses occur, and the duration determines how long each pulse lasts.
To calibrate the pulse frequency, set your machine to a specific frequency value, like 10 Hz. Then, use an oscilloscope or a frequency counter to measure the actual frequency at the electrode. If the measured frequency doesn't match the set value, adjust the frequency control knob on your machine.
The same process applies to the pulse duration. Set a known duration value, measure it using an appropriate tool, and make adjustments as needed.
Step 5: Testing the Calibration
Once you've completed all the calibration steps, it's time to test your machine. Plug it back in, turn it on, and start a test weld on a scrap piece of material. Pay close attention to the quality of the weld. Look for things like smooth bead appearance, proper fusion, and minimal spatter.
If the weld looks good, then your calibration was successful. But if you notice any issues, like uneven beads or poor fusion, you might need to go back and re - check your calibration settings.
Troubleshooting Common Calibration Issues
Sometimes, you might run into some problems during the calibration process. Here are a few common issues and how to fix them:
- Inaccurate Current Reading: If your multimeter shows a different current than the machine's setting, it could be due to a faulty ammeter in the machine. You might need to have it repaired or replaced by a professional.
- Gas Flow Problems: If you're having trouble getting the right gas flow rate, check for clogs in the gas line. You can try blowing through the line to clear any blockages. Also, make sure the gas valve is opening and closing properly.
- Pulse Frequency and Duration Not Correct: If the measured pulse frequency or duration doesn't match the set values, there could be an issue with the machine's internal electronics. In this case, it's best to contact the manufacturer for further troubleshooting or repair.
Conclusion
Calibrating your DC Pulse TIG welding machine doesn't have to be a scary task. By following these steps and taking your time, you can ensure that your machine is working at its best. A well - calibrated machine will not only give you better - quality welds but also extend the life of your equipment.

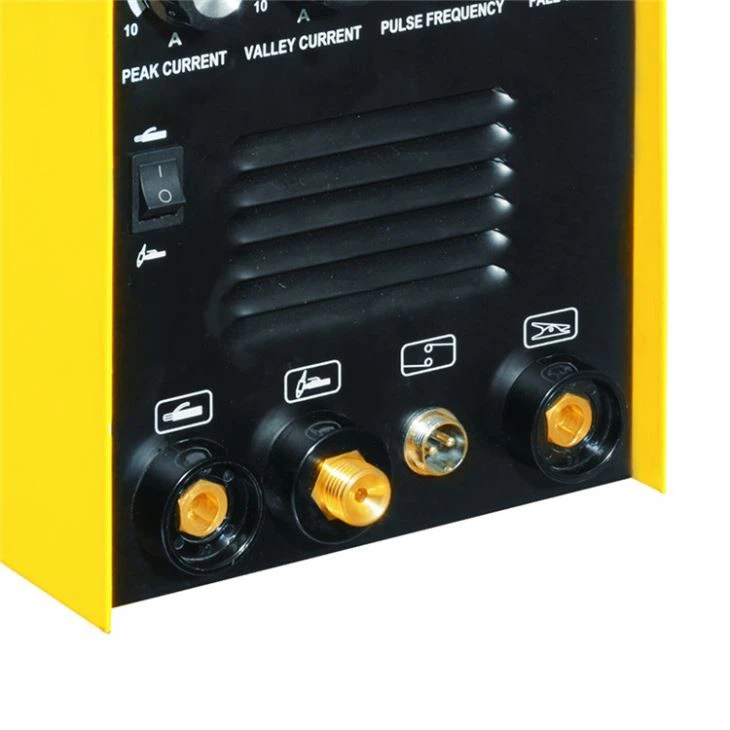
If you have any questions about calibration or if you're interested in purchasing a DC Pulse TIG Welding Machine, don't hesitate to reach out. We're here to help you with all your welding needs and guide you through the process. Whether you prefer the Industrial 380V Professional TIG for Welding Aluminium or the DC Single Phase TIG Welding Machine, we can provide you with the right equipment and support.
Let's have a chat about how we can improve your welding experience through proper calibration and the right equipment choice. Get in touch with us for more information and to start a productive discussion about your welding projects.
References
- AWS Welding Handbook, American Welding Society
- Welding Equipment Operation Manuals